How to use Stable Diffusion (Part 1)
 jenxi.com
 Vision alchemist crafting strategic innovation & AI adoption. Bridging startups to China’s ecosystem advantage. Building a cyberbrain. Registered pharmacist × Brand strategist × Storyteller
To get started with Stable Diffusion, you’ll first need to use a user interface to let you operate it without having to key in commands into the terminal. In this guide, you’ll learn how to use Stable Diffusion using the Stable Diffusion Web UI by Automatic1111. This is the easier tool available out there and I feel is perfect for beginners to get started.
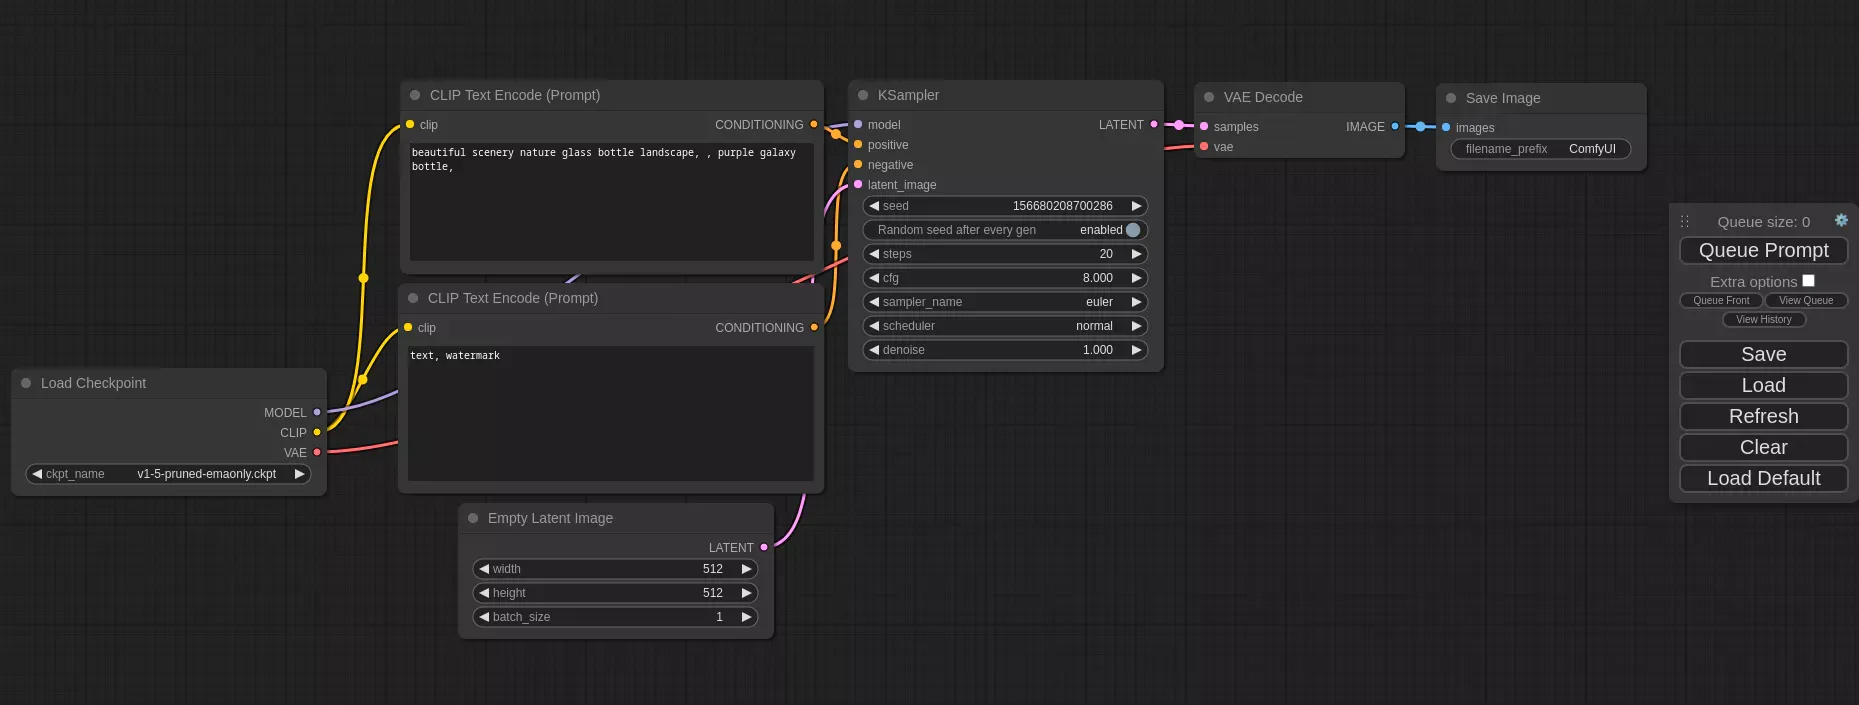
Once you have understood the process of creating images using the Web UI, you can then explore other tools like ComfyUI that are designed for power users.
This article will guide you through the process to generating your first image in Stable Diffusion. I started with the goal of helping you understand the basics in a single post, but I realised that there are a lot to digest if I do a deep dive and try to cover each parameter.
I’ve streamlined this guide so you understand enough to create your first AI generated image. Once you have a grasp of the process of how to use Stable Diffusion, I suggest reading the individual articles for the different steps and concepts to get a better grasp of what each step does, why I suggest doing it in a certain way, and explore how you can experiment on your own.
Install Stable Diffusion Web UI
If you haven’t already, install Stable Diffusion Web UI.
I have written up a guide on how to install Stable Diffusion Web UI. I try to keep my installation guide updated, but things move fast in the Stable Diffusion world, so don’t be surprised things don’t work.
Download a Stable Diffusion checkpoint
When you first launch Stable Diffusion, the first option in the top left is the Stable Diffusion checkpoint option. This dropdown option lets you select the checkpoint you want to use to generate your image.
Check out my lists of the top Stable Diffusion checkpoints to browse the popular checkpoints. Sign up for my newsletter to get the free Top 10 Realistic Checkpoints Database.
The 🔄 icon beside the dropdown lets you refresh the list if you moved a new checkpoint into the checkpoints folder. Click on the icon to update the list without having to restart the Web UI.
If you have already installed Stable Diffusion Web UI using my guide, you would already have the DreamShaper checkpoint. You can skip to the next step.
For beginners, I recommend using DreamShaper, a good general purpose checkpoint.
-
Download Dreamshaper v8 from Civitai or Hugging Face.
-
Move the checkpoint file into the checkpoints folder
\models\Stable-diffusion\.
Click on the 🔄 icon to update your list of checkpoints and select DreamShaper v8.

Generate image with txt2img
There are several tabs in your Web UI screen. My tabs might differ from yours since you are most likely on a default installation. My Web UI is very customised, so it will be different from what you see.
The txt2img tab is where you start your image generation if you want to create an image from a prompt.
Prompt structure
I won’t go into the details of prompt engineering in this article, so I’ll just touch briefly on the way I write prompts.
There are several ways of writing prompts for Stable Diffusion. You can go with natural language and describe the scene you want to see. This method is commonly used in Midjourney and DALL-E3. You then let the AI interpret your description to create the image.
I personally prefer to use Danbooru tags in my prompts because that gives me more control over to the elements I want to appear. For example, you can use 1girl or 1boy to specify that there is just a girl or a boy in the image. If you use them both together, you will get a girl and a boy. If you go with 2girls or 2boys, you will get two girls or two boys. Use both and you get four people in the image.
Of course, you can also do a mix of the natural language and booru tags in your prompt. Stable Diffusion will have no problems interpreting it.
The rule of thumb for prompting with Danbooru tags is to tag what you see, not what you know. For example, don’t tag footwear if you won’t see the feet in the image.
However, I have a general structure for creating my prompts:
-
Quality – These are tags that help to determine the quality and style, such as photorealistic, painting, anime, or illustrations etc. For example,
masterpiece, best quality, photorealistic. -
Composition – These are tags that describe the camera angle and lighting, such as a close-up or wide shot. You can refer to the list of camera angles and lighting types, For example,
cowboy shot, cinematic lighting. -
Subject – These are the tags that describe the subject. For example,
1girl, long hair, blue eyes. -
Supplementary – These are tags that add on to the subject, such as the outfit or pose. For example,
red dress, standing, looking at viewer. -
Background – These are the tags that describe the background in the image, For example,
Chinese village. -
Miscellaneous – Any other tags that I want to add on would be added at this part. I prefer to place my camera lens tags here if I use them. For example,
depth of field, canon 85mm f1.2.
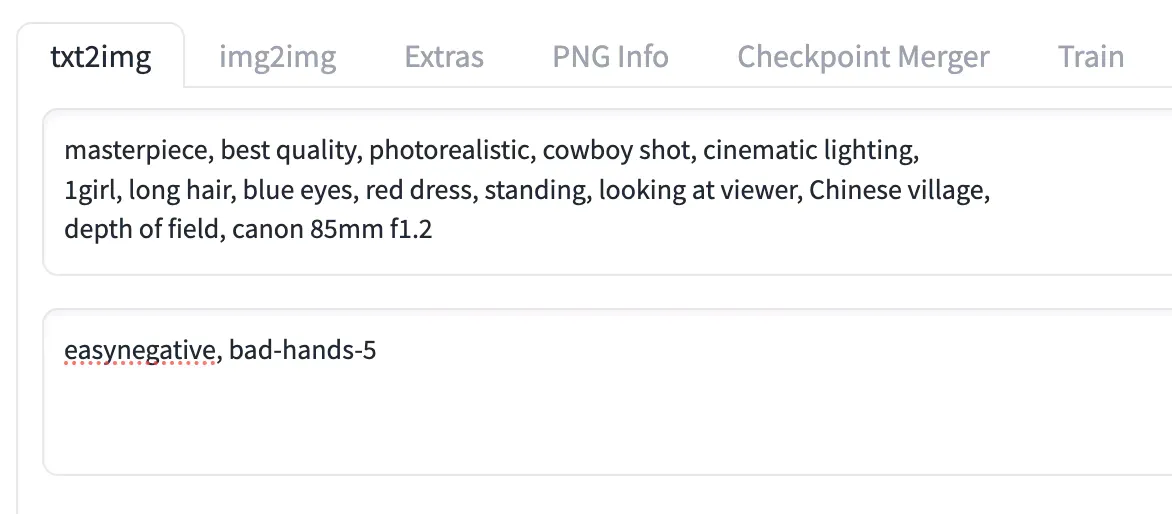
Based on the examples above, the final prompt would be:
masterpiece, best quality, photorealistic, cowboy shot, cinematic lighting, 1girl, long hair, blue eyes, red dress, standing, looking at viewer, Chinese village, depth of field, canon 85mm f1.2
This is just a general approach to creating a prompt. Some checkpoints have a recommended way to prompting and would give better results if you follow that.
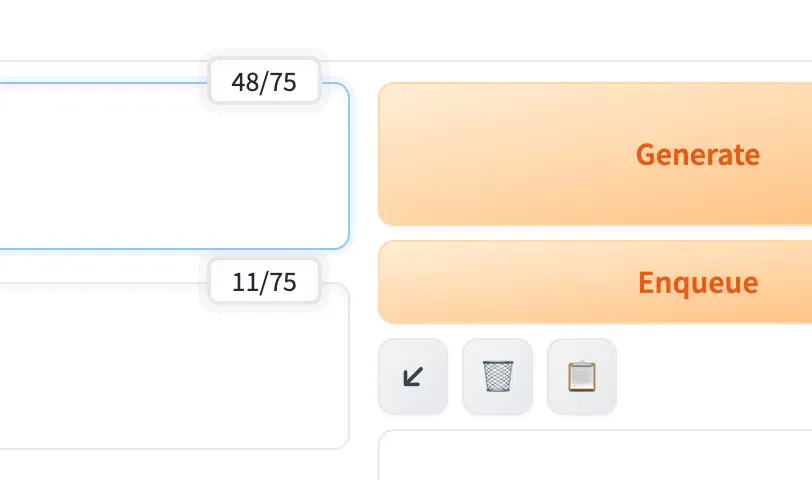
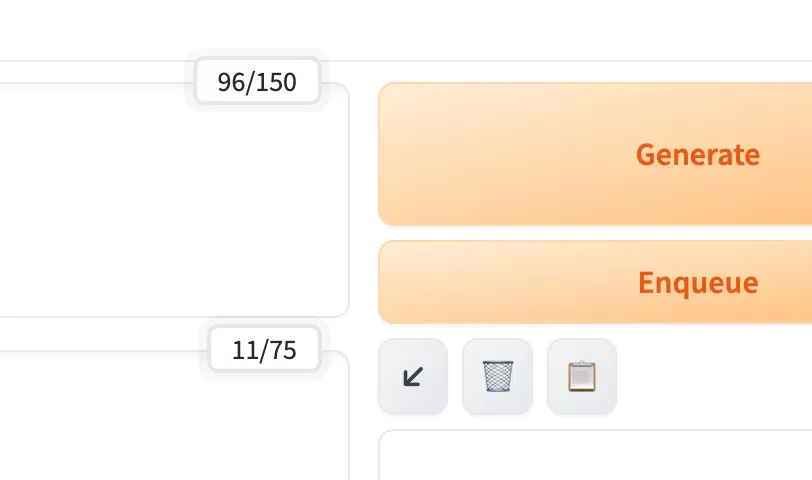
Prompt length
Stable Diffusion interprets prompts at 75 tokens per chunk. Once it goes beyond that, it will split the process into two parts. The prompt fields will show 0/75 when empty. Once you go past 75 tokens, it will show a total of 150 instead, to indicate the token count left before you use up the second part.
Token weightage
The tags in your prompts are weighted based on how far in front they are in your prompts. Tags with stronger weights are given more priority. If your output is not giving you the results you want, you might need to move your tags around to tweak their weightage.
Repeating tags
If you look at other people’s prompts, something I highly recommend you to do to study how others build their prompts, you might see them repeating the same tags, or similar ones. For example, 1girl, solo. Both tags have the same effect but repeating the similar concepts helps to give emphasis and tells the AI that this concept is important.
Some people repeat the same tags, for example, having blue eyes repeated again near the end of the earlier prompt that we had.
masterpiece, best quality, photorealistic, cowboy shot, cinematic lighting, 1girl, long hair, blue eyes, red dress, standing, looking at viewer, Chinese village, blue eyes, depth of field, canon 85mm f1.2
Moving tokens
You can move your prompt elements around in Stable Diffusion Web UI using the keyboard shortcut ⌥ or Alt + ← or → arrow keys to move them forward or backwards.

Note that this moves comma-separated elements. Meaning that tags within two sets of commas (one at the start or end of the prompt) will be moved about.
Adjusting weights
You can also increase your tags weight by adding brackets and the weight using the syntax (tag:weight). This allows you to adjust the weight of the prompt without having to move the tags around. Weightage can apply to not just tags, but also other prompt elements such as LoRAs and embedding.
You can add the weight of the token in Stable Diffusion Web UI using the keyboard shortcut ⌘ Cmd or Ctrl + ↑ or ↓ arrow keys to adjust the weight.

By default, the tags have a weight of 1 at the position in the prompt. You can increase (above 1.0) or decrease (below 1.0) the weightage to adjust its strength in your prompt. You can actually give negative values to the tags, though at this point you might want to just place the token in the negative prompt.
Negative prompt
Those of you who have tried other AI image generators like Midjourney, Mage Space or Leonardo AI would be familiar with negative prompts. A negative prompt is basically what you want the AI to avoid in the image. Common negative tags are worst quality, low quality, deformed hands, bad anatomy.
You can also place embeddings and LoRAs in the negative prompt to reverse their effect. Bear in mind that this would only work if they support negative weights.
For example, placing a LoRA that adds detail in the negative prompt will actually remove details instead of adding details.
Negative embeddings
Instead of trying to add too many negative prompts there are negative embeddings that makes it easier to insert common negative tags. I won’t go into details of negative embeddings in this article since it is another topic on its own.
The DeepNegative is an example when you use the NG_DeepNegative_V1_75T embedding that includes 75 tokens, it actually applies 75 tokens to your negative prompt. Notice that the negative prompt field will show 75/75 tokens used when you input just NG_DeepNegative_V1_75T in the negative prompt.
Other kinds of negative embeddings are textual inversions or LoRAs trained with concepts you don’t want to, such as bad drawings or anatomy. Applying these in the negative prompt will make the AI avoid these concepts.
A fun, but potentially scary/scarring, experiment to try is to place a negative embedding in the positive prompt.
Next steps
Now that we have our prompt ready, we move on to generating the image.
Don’t forget to sign up for my newsletter to get the free Top 10 Realistic Checkpoints Database. You can also browse my lists of top Stable Diffusion checkpoints on the blog.